Avoid Bottle Bombs: 4 Bottle Conditioning Variables for Homebrewers
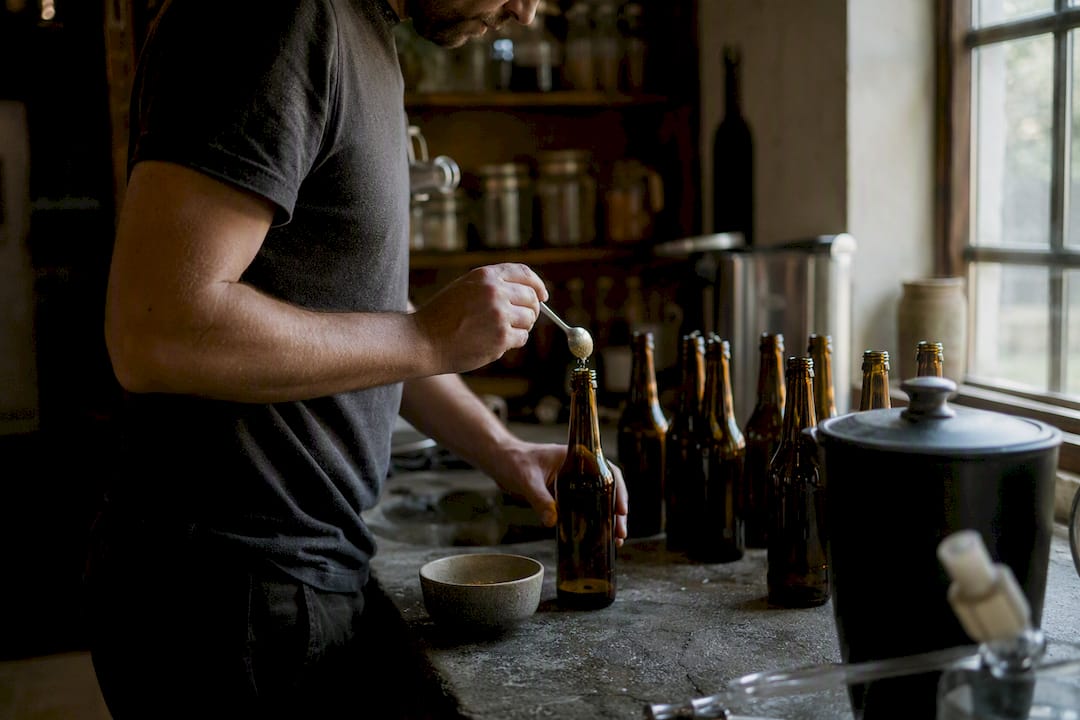
Bottle conditioned beer is beer that carbonates and evolves inside a sealed bottle through a small secondary fermentation, rather than being force-carbonated with injected CO2. Get four variables right, yeast, priming sugar, temperature and time, and you get reliable carbonation, a finer bubble, and a beer that keeps improving in the bottle for months.
TL;DR:
- Using the correct yeast, priming sugar, temperature, and timing ensures reliable carbonation and a better flavor profile that develops over months.
- More than 8 grams per liter of priming sugar is necessary to avoid flat beer, with precise calculations essential for safety and desired carbonation levels.
- Optimal conditioning requires two to four weeks at warm temperatures, followed by a cold rest, with longer times needed for high-ABV and style-specific beers.
- Troubleshooting involves checking for overcarbonation, stalled yeast, contamination, or oxidation since improper handling of the core variables causes common faults.
- Bottle conditioning produces finer bubbles and ongoing flavor evolution, making it preferable for small batches, aging, and Belgian-style beers over force-carbonation.
Table of Contents
- What is bottle conditioning, exactly?
- The four variables that decide whether your beer works
- How do you calculate priming sugar safely?
- How long should you condition and store bottle conditioned beer?
- Troubleshooting: gushers, flat bottles and off-flavours
- Why does bottle conditioning matter compared with force-carbonation?
- What we’ve learned pouring bottle conditioned beer in Brighton
- What most guides get wrong about bottle conditioning
- Taste it before you brew it
- Sources
What is bottle conditioning, exactly?
Bottle conditioning is a secondary refermentation that happens once beer is sealed in the bottle. You add a measured dose of priming sugar, sometimes fresh yeast too, and the remaining yeast in suspension consumes it, producing carbon dioxide that has nowhere to go but into solution.
That’s the key difference from force-carbonation, where a kegged or bright-tanked beer gets CO2 pumped in under pressure from an external cylinder. Force-carbonation is faster and more precise. Bottle conditioning is slower, biological, and messier in the best sense, because live yeast keeps working after packaging. The practical result: smaller, tighter bubbles, better head retention, and a beer that genuinely tastes different at three months than it did at three weeks.
The four variables that decide whether your beer works
Every credible guide to bottle conditioning comes back to the same four levers. Get sloppy with any one of them and you’ll end up with flat beer, gushers, or something that tastes of wet cardboard by Christmas.
Yeast. By the time you bottle, your primary yeast has usually been through a rough few weeks and cell counts have dropped. For beers under roughly 6% ABV with healthy yeast still in suspension, you often don’t need to add more. Above about 8% ABV, or if you’ve cold-crashed and filtered hard, pitching fresh yeast or washed krausen at bottling is standard practice, because tired yeast in a high-alcohol, low-nutrient environment can stall.
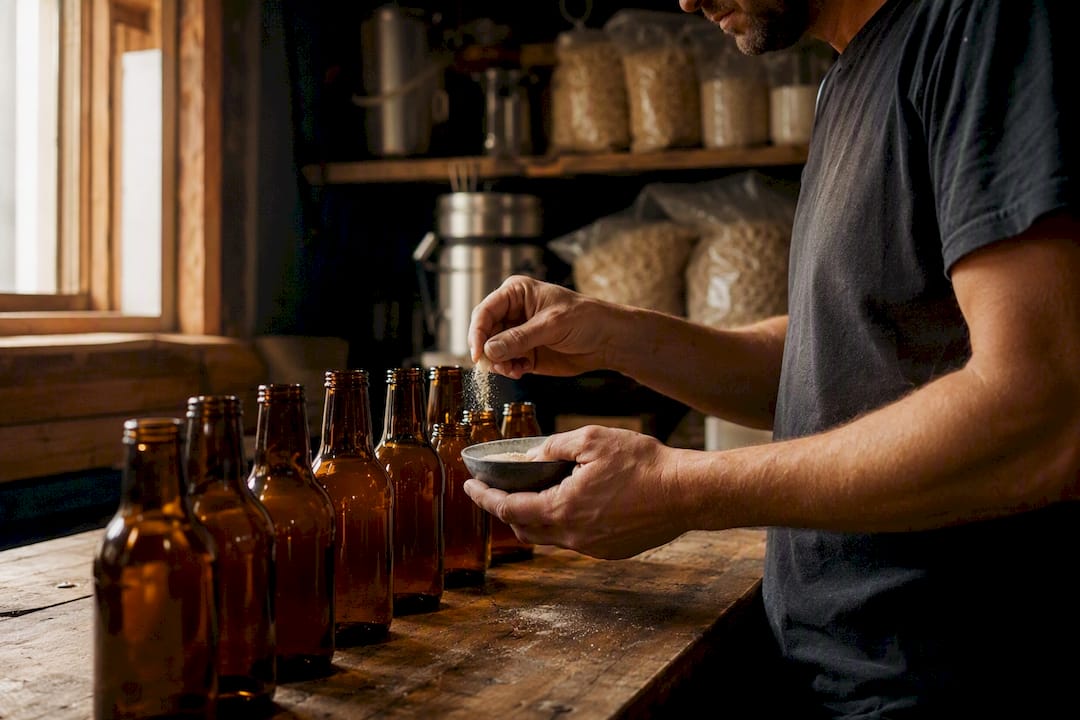
Priming sugar. Dextrose ferments fast and clean. Table sugar behaves similarly. Honey and some specialty sugars ferment more slowly and leave subtler flavour notes, which matters if you’re chasing a specific character in a Belgian-style beer.
Temperature. Refermentation happens faster in a warm room. Most homebrew guidance sits around 18 to 25°C for the active conditioning phase; anything colder and the yeast slows to a crawl.
Time. A minimum conditioning time is typically a couple of weeks before meaningful carbonation is seen, but that’s a floor, not a target.
- Standard ales: 2 to 3 weeks at room temperature
- High-gravity or Belgian styles: 4 weeks or more, sometimes longer
- Always test one bottle before declaring the batch finished
Pro Tip: Keep one “test bottle” from every batch stored slightly warmer than the rest. Crack it open at the two-week mark. If it’s undercarbonated, leave the remainder alone and check again a week later rather than panicking and adding more sugar.
How do you calculate priming sugar safely?
Three numbers drive the calculation: the CO2 already dissolved in your beer (residual CO2, which depends on your fermentation temperature), your target carbonation level in volumes of CO2, and your batch volume. Get this wrong and you either brew flat beer or risk a bottle bomb.
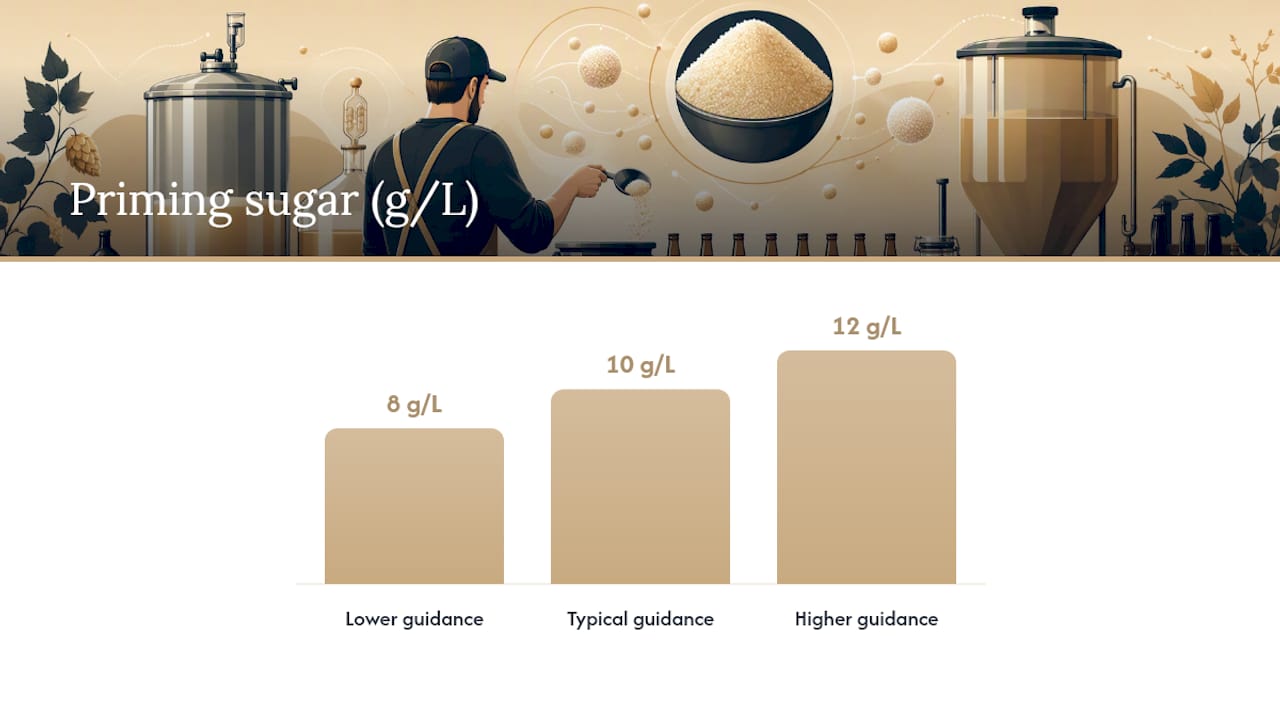
Most priming-sugar guidance lands between 8 and 12 grams per litre for typical ale carbonation levels, though the exact figure shifts with your target style and residual CO2.
Here’s a worked example for a 23-litre (5-gallon) batch aiming for around 2.5 volumes of CO2, a fairly standard English ale target:
- Estimate residual CO2 from your fermentation temperature (warmer ferments hold less dissolved CO2, so they need more priming sugar to reach the same target).
- Use a priming sugar calculator or reference chart to find the grams-per-litre figure for your target volumes and residual CO2 combination.
- Multiply that figure by your batch volume in litres to get total grams of dextrose needed.
- Dissolve the sugar in a small amount of boiled water, cool it, and mix it thoroughly into the whole batch before bottling, never bottle-by-bottle by guesswork.
- Check bottle strength: use bottles rated for carbonation (proper beer bottles, not reused soft-drink bottles), inspect for chips or stress marks, and cap securely.
- Store filling bottles somewhere below roughly 25°C during active conditioning to avoid excess pressure build-up.
Skipping the calculator and eyeballing sugar by volume rather than weight is the single most common cause of bottle bombs among home brewers.
How long should you condition and store bottle conditioned beer?
The routine that works best is a two-stage one: warm conditioning first, then a cold-settle. Keep bottles at 18 to 25°C for two to four weeks to let refermentation finish, then move them somewhere cold, a fridge works fine, for at least a few days so the yeast drops clear and settles into a tight cake at the base.
Timelines vary by style. A pale ale or session IPA is often drinkable within three weeks. Stouts and porters generally benefit from a longer warm phase, four weeks plus, to let roasted flavours round out. Belgian styles and anything above 8% ABV often need a month or more, sometimes several. Lagers conditioned in the bottle need longer still, given their yeast strains work more slowly at cool temperatures.
When you pour, do it in one steady motion and stop before the sediment reaches the neck. Our beer glassware guide and serving temperature guide cover the details, but the short version: most ales show best around 10 to 13°C, lagers colder, and stronger Belgian styles slightly warmer again.
Troubleshooting: gushers, flat bottles and off-flavours
Most bottle conditioning faults trace back to one of the four core variables slipping.
- Gushing on opening: usually overcarbonation from too much priming sugar, residual fermentable sugar left in the beer, or infection. Check your calculation first.
- Flat or barely carbonated bottles: often means the yeast stalled, check storage temperature, or the yeast count was too low to finish the job.
- Persistent haze beyond normal chill haze: can indicate incomplete fermentation or contamination rather than a cosmetic issue alone.
- Off-flavours (cardboard, vinegar, band-aid): point to oxidation or contamination introduced at bottling, which is why sanitation matters as much as the recipe.
If a batch is genuinely stalled, try moving it somewhere warmer for another week before assuming it’s dead. A gentle swirl to rouse the yeast sometimes helps. If bottles smell of vinegar or solvent, that’s an infection, not a fixable carbonation problem, and it’s not worth the risk of drinking through it.
Why does bottle conditioning matter compared with force-carbonation?
The sensory case for bottle conditioning is real, not just tradition for tradition’s sake. Live yeast in the bottle produces finer, longer-lasting bubbles than force-carbonation typically gives you, and it keeps subtly reworking the beer’s flavour for weeks or months after packaging, which is why some brewers prize bottle conditioned beer specifically for ageing. The science behind aged ferments explains part of why: continued microbial activity changes a drink’s character well past the point most people assume fermentation has finished.
Bottle conditioning suits small batches, limited ageing releases, and Belgian-style beers where a living, evolving character is the point. Force-carbonation wins on speed and consistency for high-volume production or styles like crisp lagers where a controlled, unchanging carbonation profile matters more than complexity.
What we’ve learned pouring bottle conditioned beer in Brighton
Bottle conditioned beer has grown from a niche practice to a mainstream feature of British craft brewing, with the number of small producers using the method rising sharply over the past two decades. At Lost And Found Taproom, our bottle shop rotates stock specifically to include beers still actively conditioning, Belgian-influenced pales, barrel-aged stouts, saisons, because they’re the styles where the technique earns its keep.
If you want to taste the difference before committing a homebrew batch to it, our guide to tasting beer walks through how to spot the finer carbonation and evolving character that separates a well-conditioned bottle from an average one.
What most guides get wrong about bottle conditioning
The conventional advice treats bottle conditioning as a formula: add sugar, wait two weeks, done. That undersells how much yeast health and temperature interact. A stalled ferment at 15°C isn’t fixed by more time, it’s fixed by warmth, and a lot of homebrewers wait weeks for a batch that just needs to move somewhere warmer.
The other blind spot is safety. Priming-sugar advice online is often given as a single flat number, “use 100g per batch”, with no reference to residual CO2 or target style. That’s how bottle bombs happen. The three-input calculation, residual CO2, target volumes, batch size, isn’t optional extra rigour. It’s the actual difference between a beer that carbonates predictably and one that puts glass through your kitchen ceiling.
If you take one thing from this, prioritise the calculation over the recipe. Sugar type and yeast strain shape flavour, but getting the maths right is what keeps you and your bottles safe. Everything else is refinement.
— Author
Taste it before you brew it
There’s a shortcut past the trial and error: taste a properly bottle conditioned beer before you commit a batch of your own to the process. Lost And Found Taproom’s rotating bottle shop always carries a handful of conditioning-forward beers, from Belgian pales to barrel-aged stouts, alongside staff who can talk you through what’s happening in the bottle and why it tastes the way it does.
Our full beer menu is available online, so you can check what’s currently in stock before visiting the Fiveways taproom, and our food menu is listed there too if you’re planning a longer session. If you’re newer to spotting the difference between a rushed carbonation job and a properly conditioned bottle, our tasting flights guide is a good place to start before you attempt a high-gravity or Belgian-style batch at home. Come in, taste a few examples side by side, and you’ll know exactly what you’re aiming for when you get back to your own bottling bucket.
Sources
- Bottle conditioning (Beer & Brewing dictionary)
- Mastering the art of bottle conditioning (American Homebrewers Association)
- How to bottle condition beer (Murphy and Son)
- How long should you condition home brew beer? (BrewCo UK)